

Troubleshooting Common DTF Printing Issues: 2026 Guide
Table of Contents
- Why DTF Printing Issues Happen: Root Causes First
- Nozzle Clogging, White Ink Separation, and Printhead Failures
- DTF Print Head Cleaning Guide: Step-by-Step
- Film Jamming, Adhesive Powder Problems, and Transfer Failures
- Color Inconsistencies, Fading, and Blurry Images in DTF Printing Issues
- Environmental Factors and Material Compatibility
- Preventing DTF Ink Clogs: Daily and Weekly Habits
- DTF Printer Maintenance Schedule: What to Do and When
Last Updated: August 24, 2026
Direct to film printing delivers exceptional results when everything runs correctly. When it doesn't, problems compound fast: smeared transfers, clogged printheads, washed-out colors, film jams that waste material. At Printer Ink Pro, we work with garment decorators daily, and troubleshooting DTF printing issues is consistently their most urgent concern. This guide covers every major failure point, its causes, and how to fix it.

Why DTF Printing Issues Happen: Root Causes First
Most DTF printing issues trace back to four root causes: ink quality and viscosity, environmental conditions, incorrect RIP software settings, and inadequate maintenance.
Direct to film printing is a multi-stage process. The printer deposits CMYK inks plus white ink onto transfer film. Hot melt adhesive powder is applied while ink is wet, then cured in an oven. Finally, the transfer is applied to substrate using a heat press. A failure at any stage creates different symptoms. Most DTF printing issues are interconnected, a nozzle clog that forces increased ink density will cause adhesive powder to clump, leading to uneven curing. Fix the root cause, not just the symptom.

Nozzle Clogging, White Ink Separation, and Printhead Failures
Nozzle clogging is the most common reason DTF printing issues escalate from minor annoyances to full production stops.
White Ink Circulation and Settling
White ink has a significantly higher pigment load than CMYK inks, and particles settle out of suspension faster. If white ink sits in ink lines or the capping station without circulation, it thickens, blocks nozzle channels, and causes banding or gaps in your white underbase layer.
Most DTF printers include automatic white ink circulation. Verify yours is enabled and set to run at least every 30 minutes during idle periods. Signs of white ink settling: streaked white underbase, gray rather than bright white appearance, or missing channels only in the white ink row on the nozzle check.
Running a Printhead Nozzle Check
Run a nozzle check before every print session. The pattern should show complete, unbroken lines across all channels. Any missing segments indicate blocked nozzles.
- 1-3 missing nozzles: Run a standard automatic cleaning cycle, then reprint the nozzle check.
- 4-10 missing nozzles: Run a medium-strength cleaning cycle. Wait 10 minutes, then recheck.
- More than 10 missing nozzles or entire rows missing: Run a power cleaning cycle. If the nozzle check doesn't improve after two power cleans, move to manual printhead cleaning.
Never run power cleaning cycles back-to-back without a waiting period. Each cycle consumes significant ink and stresses the maintenance station.
DTF Print Head Cleaning Guide: Step-by-Step
Manual printhead cleaning is necessary when automatic cycles fail to restore full nozzle function. Done correctly, it recovers most clogged printheads without replacement.
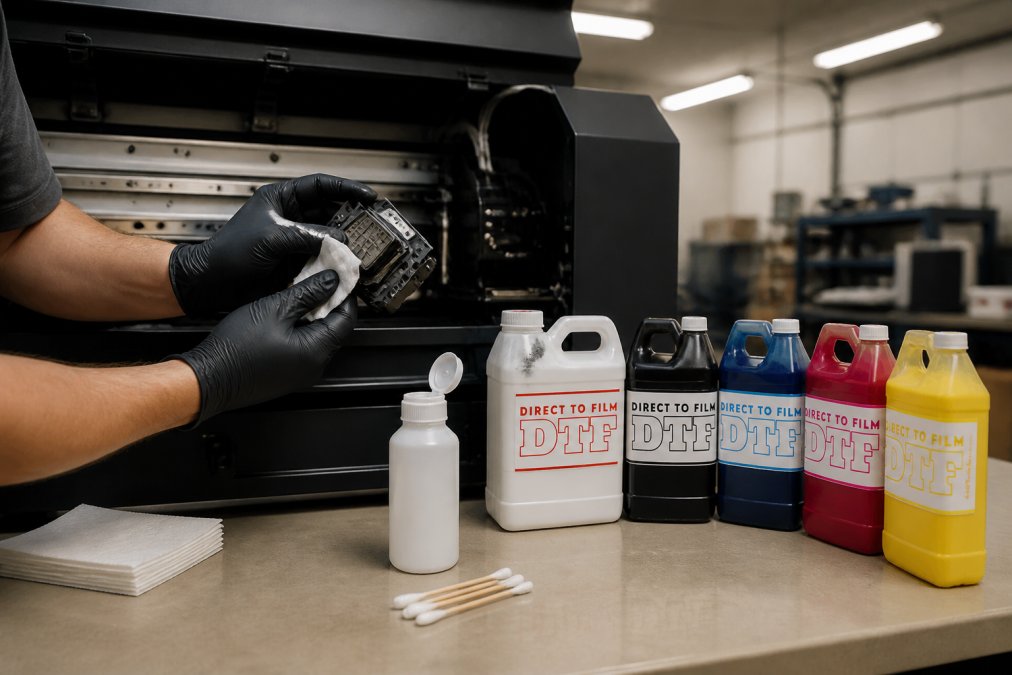
What you'll need: Dedicated printhead cleaning solution, lint-free cleaning swabs or cloths, nitrile gloves, a shallow cleaning tray.
- Power down the printer and move the printhead carriage to the center position manually.
- Put on nitrile gloves. Never touch the printhead surface with bare hands.
- Dampen a lint-free swab with cleaning solution. Do not saturate it.
- Gently wipe the printhead surface in one direction only. Do not scrub back and forth.
- Use a fresh swab for each pass. Reusing swabs redeposits dried ink.
- For stubborn clogs, place a cleaning solution-soaked pad directly beneath the printhead and let it sit for 15-20 minutes to dissolve dried ink.
- After cleaning, power the printer back on and run a standard cleaning cycle to flush the nozzle channels.
- Print a nozzle check to confirm improvement.
Film Jamming, Adhesive Powder Problems, and Transfer Failures
Film feeding problems and adhesive failures account for significant wasted material in DTF shops. Both are preventable with the right setup and environmental controls.
Poor Hot Melt Adhesive Powder Adhesion
Hot melt adhesive powder adheres to wet ink on the transfer film. If adhesion is inconsistent, you'll see patchy coverage, transfers that peel after one wash, or areas where the design completely separates from the garment.
Common causes of poor adhesive distribution: ink is too dry before powder application, powder particle size mismatch, static discharge, or ink saturation too low. Check your RIP software ink density settings and reduce the gap between printing and powder application.
Heat Press Temperature, Pressure, and Peel Issues
Heat press settings directly determine transfer quality. The variables are temperature, pressure, and peel temperature.
| Variable | Too Low | Too High |
|---|---|---|
| Heat press temperature | Poor adhesion, transfer lifts | Scorching, color shift, garment damage |
| Transfer pressure | Incomplete bond, edges lift | Ink bleed, image blurring on stretch fabrics |
| Peel temperature | Transfer tears, adhesive strings | Design distortion, color shift |
| Curing temperature | Tacky finish, powder not bonded | Cracking, ink saturation loss |
Most DTF transfers press at 300-320°F for 10-15 seconds with medium-firm pressure, followed by a warm peel (peer-reviewed research). Always verify the specific parameters for your transfer film brand, as peel temperature varies considerably between film types.
Color Inconsistencies, Fading, and Blurry Images in DTF Printing Issues
Color problems in DTF are almost always a software or ink issue, not a hardware one. Blurry images usually result from print resolution settings and printhead alignment.
RIP Software Settings, Color Profiles, and Ink Density
The raster image processor controls how your design translates from screen to film. Incorrect color profiles are the single biggest cause of color inconsistencies.
Your RIP software should run a color profile specifically built for your printer, ink set, and transfer film combination. A generic profile produces color gamut compression, meaning vivid screen colors print flat and muted on film. If you've switched ink suppliers without updating your color profile, expect color shift.
Key RIP software settings to audit: ink density (overloading causes bleeding; underloading causes fading), dithering algorithm (stochastic dithering generally produces smoother gradients), white ink channel settings (the white underbase must be correctly sized relative to the CMYK layer), and print resolution (600 dpi is the standard for most DTF work).
Curing Temperature, Time, and Ink Saturation Faults
Curing is where many print shops lose transfers that looked perfect coming off the printer. The curing oven must reach the correct curing temperature uniformly across the film width. Cold spots leave adhesive powder partially melted, resulting in poor wash durability.
Curing time matters as much as curing temperature. Under-cured transfers feel soft and sticky. Over-cured transfers crack after a few washes because the adhesive becomes brittle. Most DTF setups cure at 280-320°F for 2-3 minutes, but this varies with film thickness and adhesive powder type.
Environmental Factors and Material Compatibility
Environmental factors cause a significant percentage of recurring DTF printing issues that seem random but follow predictable patterns.
Humidity control is non-negotiable for DTF printing. Low humidity causes static discharge, which disrupts adhesive powder distribution and film feeding. High humidity causes ink to dry too slowly, leading to smearing and adhesive clumping. The target range is 45-65% relative humidity (the CDC). Install a hygrometer in your print area and monitor it daily.
Temperature affects ink viscosity directly. Cold ambient temperatures increase white ink viscosity, making it more prone to nozzle clogging. Aim to keep your print area above 65°F (osha.gov). If your shop gets cold overnight, run a purge cycle in the morning before starting production.
Material compatibility affects transfer quality significantly:
| Substrate | Key Consideration | Recommended Approach |
|---|---|---|
| 100% cotton | Absorbs heat evenly | Standard press parameters |
| Polyester blends | Dye migration risk at high heat | Lower temperature, longer press time |
| Nylon | Low heat tolerance | Test on scrap before production |
| Stretch fabrics | Ink bleed under pressure | Reduce pressure, use flexible adhesive powder |
| Performance fabrics | Moisture-wicking coatings affect adhesion | Pre-press to remove moisture |
Substrate compatibility also affects peel temperature. Thin polyester fabrics retain heat longer than heavy cotton, so adjust your peel timing by substrate, not just by a fixed clock.
Preventing DTF Ink Clogs: Daily and Weekly Habits
Preventing DTF ink clogs is substantially cheaper than recovering from them. A clogged printhead requiring manual cleaning costs 20-40 minutes of production time. A printhead needing replacement costs hundreds of dollars and days of downtime.
The ink you use matters. Lower-quality inks with inconsistent viscosity or poor pigment dispersion clog faster and clean out less completely. Printer Ink Pro's DTF ink formulations are engineered for consistent flow and low clogging tendency. The White 1000ml DTF Direct to Film Ink is specifically formulated for the circulation demands of white ink channels.
Daily habits for preventing DTF ink clogs:
- Run a nozzle check at the start of every session
- Never leave the printer idle for more than 2 hours without running a maintenance cycle
- Verify white ink circulation is active before starting a run
- Keep ink tanks filled above 25% to prevent air entering the ink lines
- Cap the printhead properly at the end of every session
Weekly habits:
- Clean the capping station and wiper blade
- Check ink lines for air bubbles
- Inspect the maintenance station for ink overflow
- Run a full nozzle check after any extended idle period
DTF Printer Maintenance Schedule: What to Do and When
A structured DTF printer maintenance schedule eliminates most recurring problems before they start.
| Task | Frequency | Time Required | Impact |
|---|---|---|---|
| Nozzle check print | Daily, before first job | 2 minutes | Catches clogs early |
| White ink circulation check | Daily | 1 minute | Prevents white ink settling |
| Capping station wipe | Weekly | 10 minutes | Prevents ink buildup and clogging |
| Wiper blade cleaning | Weekly | 5 minutes | Maintains printhead wiping function |
| Ink line inspection | Weekly | 5 minutes | Catches air bubbles early |
| Waste ink tank check | Weekly | 2 minutes | Prevents overflow damage |
| Full manual printhead inspection | Monthly | 20 minutes | Identifies wear before failure |
| Curing oven temperature calibration | Monthly | 15 minutes | Ensures consistent curing temperature |
| RIP software profile review | Quarterly | 30 minutes | Corrects color drift over time |
| Complete printer deep clean | Quarterly | 60-90 minutes | Resets all maintenance components |
Waste ink management deserves special attention. Waste ink accumulates in the maintenance station during every cleaning cycle. A full waste ink tank causes ink to overflow into printer internals, which is expensive to repair and completely preventable. Check waste ink levels weekly and replace or drain the tank before it reaches capacity.
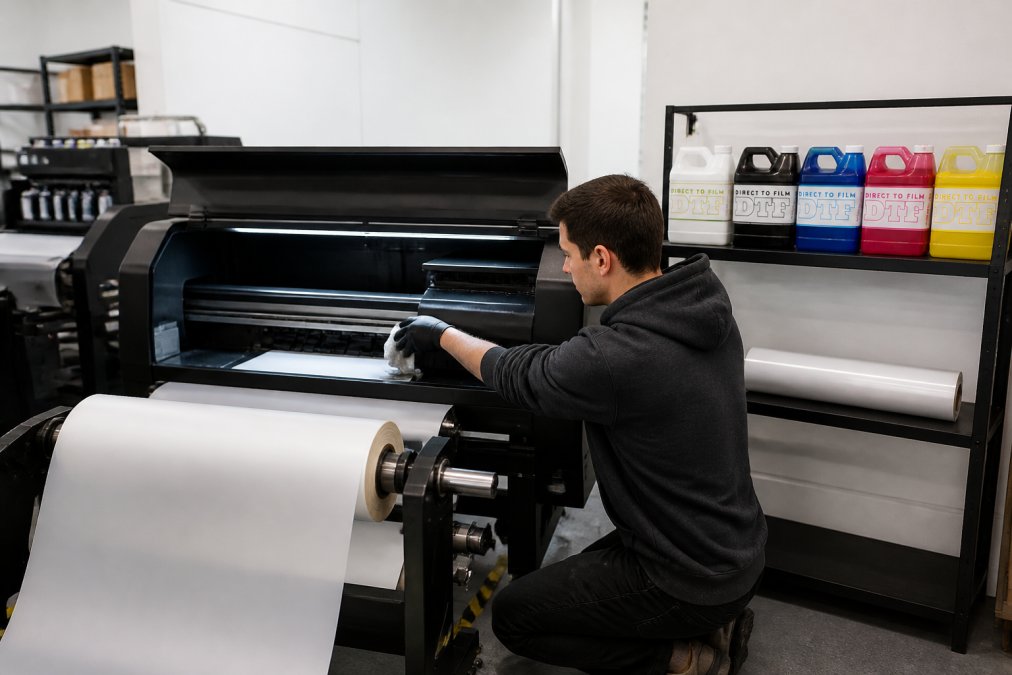
For shops running multiple printers, the 5 x 1000ml DTF Direct to Film Ink set covering all five channels (CMYK plus white) is a practical way to keep a complete ink inventory on hand without ordering individual bottles. Having ink available means you can top up tanks immediately rather than running low and introducing air into the system.
The maintenance station and capping station need attention beyond just cleaning. Inspect the capping station seal for cracks or hardening. A damaged seal allows the printhead to dry out during idle periods, causing severe nozzle clogging that doesn't respond to standard cleaning cycles.
Recurring DTF printing issues don't have to mean lost production time. The root causes are predictable, the fixes are systematic, and the right supplies make a measurable difference. Printer Ink Pro stocks the complete range of DTF inks including individual color channels and full CMYK plus white sets, formulated specifically for low clogging and consistent flow in Epson-head based DTF printers. Get started with Printer Ink Pro and keep your transfers printing clean, your printheads running longer, and your production schedule intact.

Frequently Asked Questions
What are the most common causes of DTF ink clogging?
White ink is the most frequent culprit because hot melt adhesive powder and pigment particles settle quickly when the printer sits idle. Low ink viscosity from temperature swings, infrequent white ink circulation, and a dried-out capping station all accelerate clogging. Running daily nozzle checks, keeping the print environment between 65°F and 80°F, and using quality DTF ink formulated for consistent flow dramatically reduces how often clogs develop.
Why is my DTF transfer film not sticking to the fabric?
Poor adhesion usually comes down to one of three things: insufficient adhesive powder coverage, incorrect curing temperature in the curing oven, or wrong heat press pressure and peel temperature. Check that hot melt adhesive powder is distributed evenly across wet ink before curing. Verify your curing oven reaches the ink manufacturer's recommended temperature, and confirm your heat press applies consistent pressure across the full transfer area. Substrate compatibility also matters, some synthetic blends resist adhesion.
How do I fix white ink separation in DTF printing?
White ink separation happens when titanium dioxide pigment settles to the bottom of the ink line or tank. Run the printer's white ink circulation or agitation cycle daily, even on non-print days. Shake or gently swirl white ink bottles before refilling. If separation has already occurred inside the lines, run two to three head cleaning cycles and print a nozzle check pattern. Consistent white ink circulation is the single most effective fix for this DTF printing issue.
How can I prevent banding in my DTF prints?
Banding, horizontal lines across the print, typically signals blocked nozzles, incorrect printhead alignment, or RIP software dithering settings that don't match your print resolution. Start with a nozzle check and clean any deflected nozzles. Then verify printhead alignment in your printer's utility. Inside your raster image processor, check that ink density and pass count are set for your transfer film type. Using ink with stable viscosity also reduces nozzle deflection that causes banding.
What maintenance steps prevent common DTF printing errors?
A structured DTF printer maintenance schedule covers most recurring errors. Daily: run nozzle checks, circulate white ink, and cap the printhead properly at shutdown. Weekly: clean the capping station, wipe the maintenance station, and inspect the film feed path for adhesive residue. Monthly: flush waste ink from the waste ink tank, check ink line connections, and verify color profiles in your RIP software. Consistent upkeep prevents the majority of DTF printing issues before they interrupt production.
How do I troubleshoot poor color vibrancy in DTF transfers?
Dull or washed-out colors after transfer usually point to an incorrect color profile in the raster image processor, low ink saturation settings, or inadequate curing time in the curing oven. Load the correct ICC color profile for your transfer film and ink set. Increase ink density in small increments and reprint a test. Also confirm curing temperature and time match the ink manufacturer's specifications, under-cured prints look faded and fail wash durability tests even when the print looks acceptable before pressing.
Does switching to third-party DTF ink cause more clogging?
Ink quality varies significantly between suppliers. Poorly formulated DTF ink can have inconsistent viscosity and larger pigment particles that clog nozzle channels faster than OEM ink. High-quality third-party DTF inks engineered for consistent flow and correct viscosity perform comparably to OEM options without the price premium. When evaluating any ink, check that it specifies compatibility with your printhead type, Epson printheads in particular are sensitive to viscosity outside the recommended range.
This article was written using GrandRanker